How To Print Sublimation Mugs

Mug printing is one of the staples of sublimation printing.
Mugs are the most commonly produced item using the sublimation printing process.
Sublimating a mug is a very simple process, but it is something we are often asked about.

Below is a guide to the method we use.

This guide should be used as a basic groundwork, as there are many variables when sublimating.
Ink Experts always recommend experimenting to find the best settings for your setup.
However, when using this method we get great results

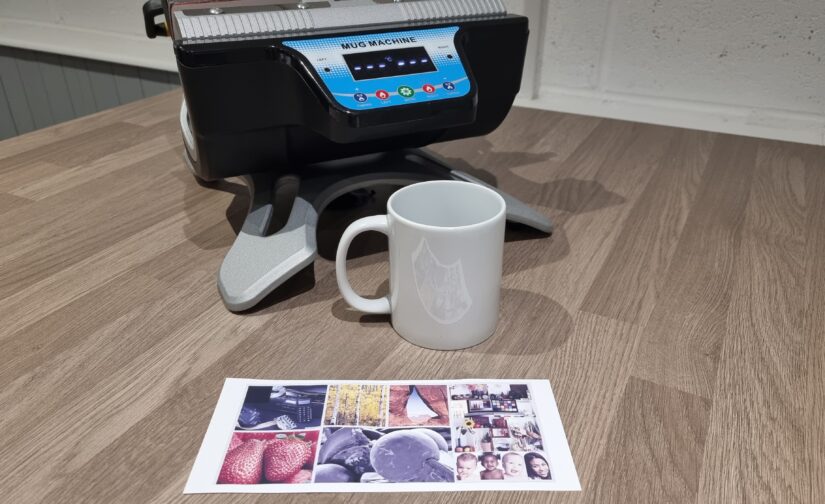
1) Design Process

You will need to create the artwork for you mug design on your computer.
Ideally use a good piece of photo editing software.
Popular software choices are Adobe Photoshop, Coral Draw, Serif Afinity or Gimp Design.
Basic software such as MS Word, Publisher or similar can be used, but they offer limited design freedom.
They also lack some of the functions that other softwares offer as standard.

Sublimation mugs are usually 10/11oz.
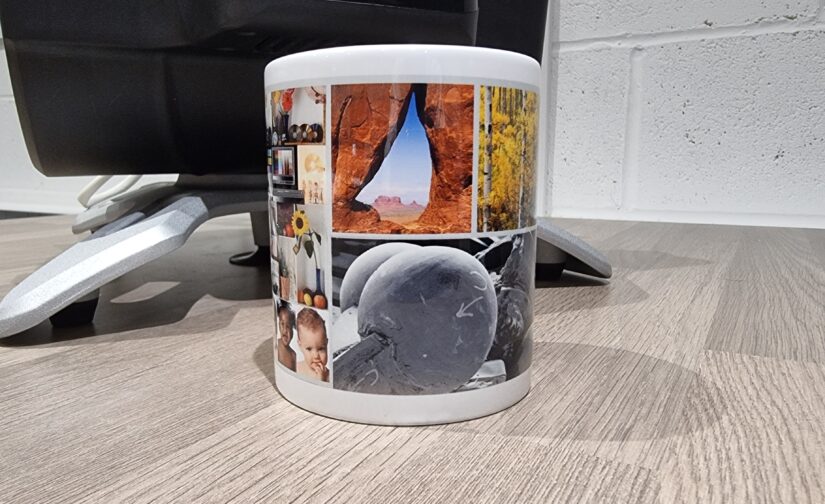
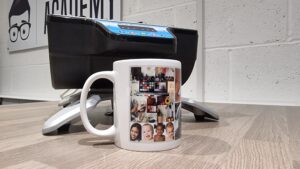
We find a design template that is 20x8cm will allow for a full wrap design, starting from one side of the handle to the other.
The 20x8cm template will allow up to 3 mug design templates to fit on to a single A4 sheet.

2) Preparing your mug

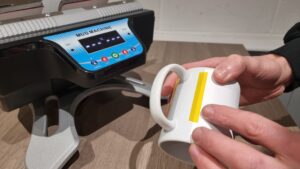
It is advised to preheat your blank sublimation mug to ensure heat is within the ceramic before pressing.

Why is preheating the mug important?

  • Preheating mugs helps to improve the reaction and transfer of ink yielding a better quality and more consistent transfer when heat pressed.
  • Preheating also decreases the risk of fading towards the bottom of the mug – fading is common on the bottom of the mug as the ceramic is more dense this means it requires more heat to obtain a good even transfer from the design.
  • Preheating also avoid a sudden change in temperature when it is placed into the mug heat press. Sudden temperature change can result in fine cracks in the ceramic or even shattered mugs.

How to preheat your mug?

Mugs can be preheated in a number of ways we use the following methods depending on the particular job we are undertaking-

  • Prepress / preheat in your mug press – the blank mug can be placed into the heat press for 30-40 seconds. The mug should warm / slightly hot to the touch but not too hot to handle.
  • Fill the mug with boiling water and leave for 1-2 minutes. Again the mug should be warm / slightly hot when handling.
  • Soak mugs in a bowl of hot water for 5-10 minutes – this method is ideal for large print runs or bulk orders. Mugs should be removed and dried before pressing.

3) Preparing your printed design

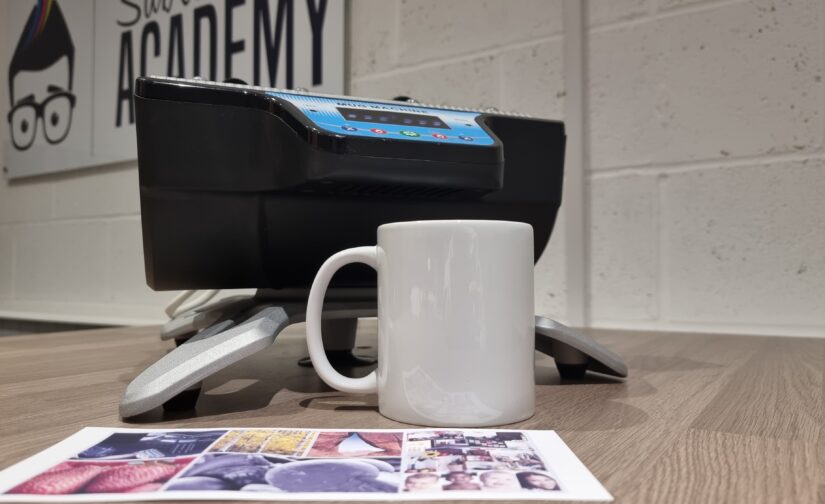
Take your printed paper transfer and trim to 20x8cm with a pair of scissors.

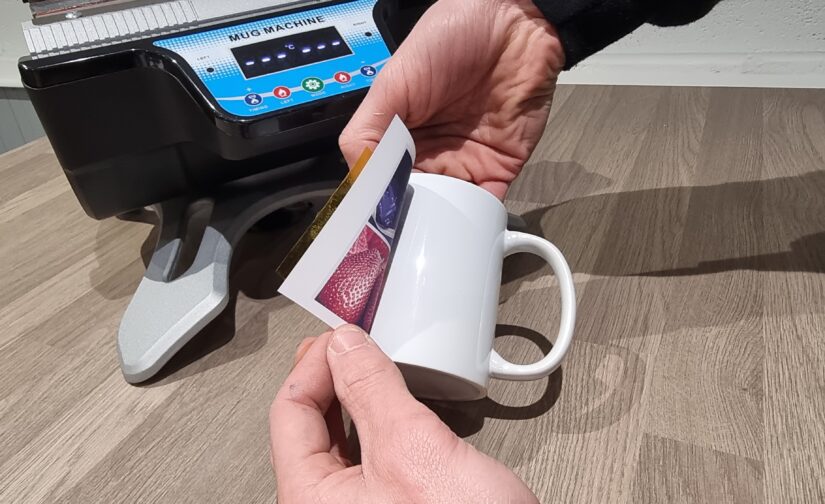
Wrap the paper around the outside of the mug starting from one side of the handle and working around to the other.
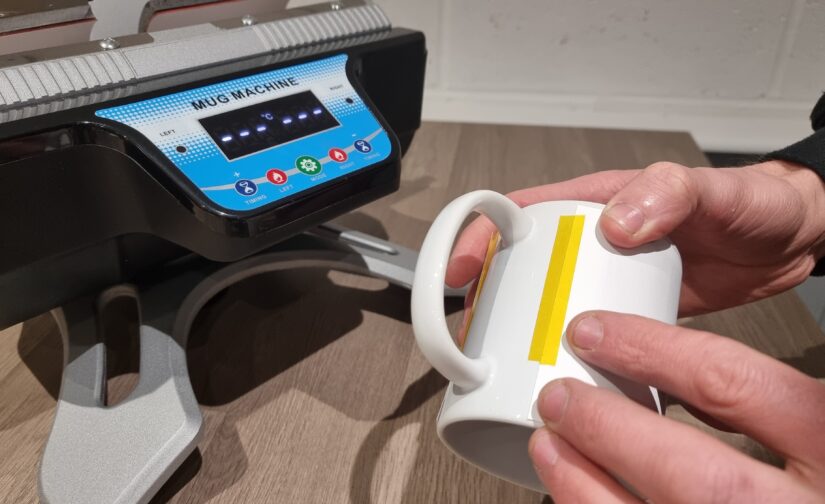
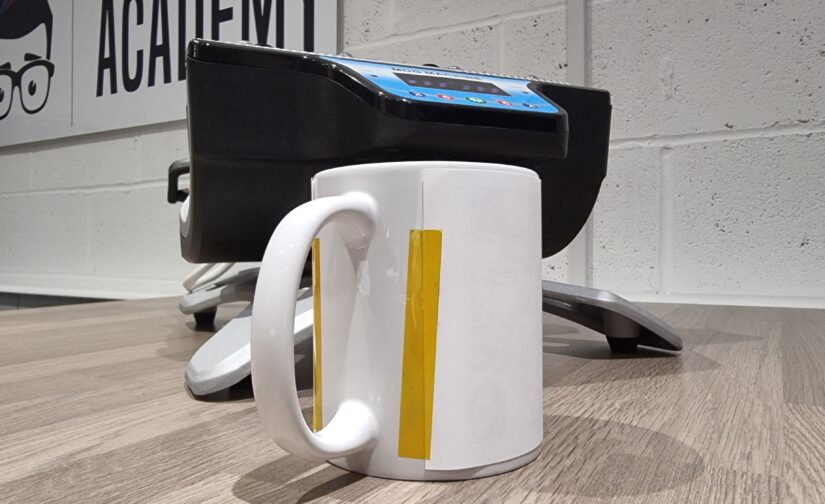
Secure in place using heat tape.
The paper wrap should be tight against the mug surface to avoid creasing when it is placed in the heat press.

4) Pressing your mug

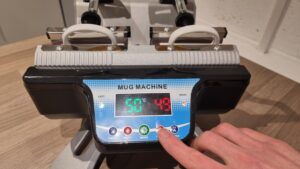
10/11oz sublimation mugs are usually pressed at a firm pressure for 180 seconds (3 minutes) at 180c / 355F.
This can differ from mug to mug and it is always advised to check with the manufacturer or supplier of your sublimation mugs first.

For our example we have used a set of our own 11oz sublimation mugs. We recommend these are pressed at:

Temperature: 180c
Time: 180 seconds
Pressure: Medium

Step by step method

Generally we find the following process works well;

Turn on your mug heat press.

Set the temperature and time.

Allow it to come up to temperature with a blank (no paper wrap) sublimation mug in the press (this helps to protect the heating blanket / element and reduces wear).

When the heat press is at the correct temperature remove the blank mug, and insert a mug which has been wrapped with the printed paper design.

  • Preheat your mug as advised in ‘Preparing your mug’
  • Close the heat press clamp and start the timer.
  • Press for 180 seconds.
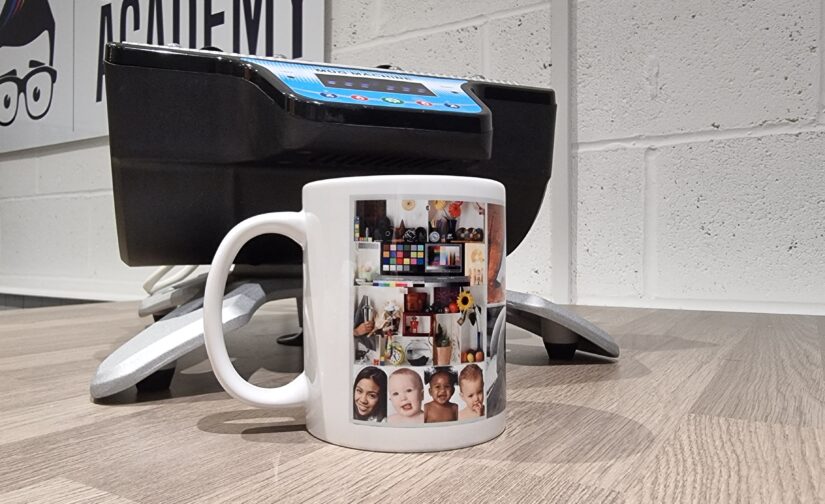
  • When the timer finishes remove the mug from the heat press and place on a cooling rack or heat proof mat.
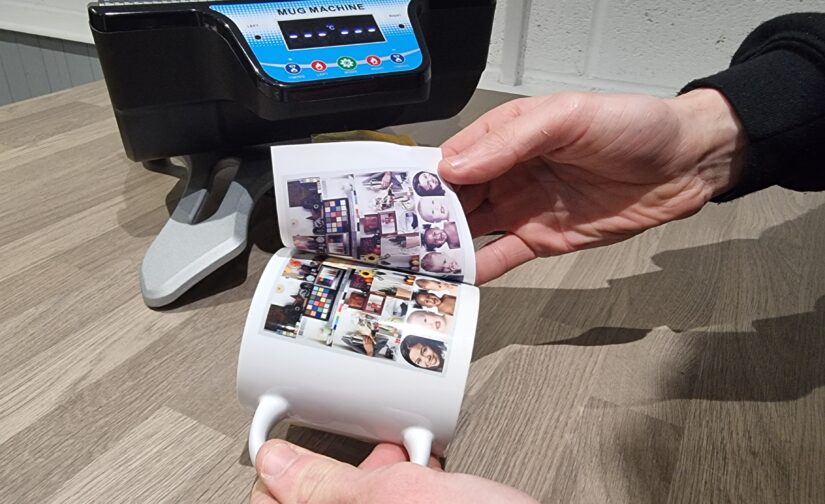
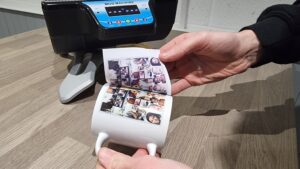
  • Remove the paper straight away to prevent ink migration.
  • If possible, dunk the mugs into boiling water to cool rapidly without damaging them. This cools the surface and prevents further ink migration.

Tips and tricks

Try to keep your design away from the edges (top, bottom and handle) of the mug.

We try to keep 5-10mm away from all edges of the mug.
This is because the mugs generally have a very slight taper at the top and bottom, so pressure from the heat press is uneven on these areas.
Furthermore the heating element of the heat press is generally weaker at the edges.
As a result you tend to find a poorer image transfer in these areas.

Mugs can be preheated in a number of ways we use the following methods depending on the particular job we are undertaking-

  • Prepress / preheat in your mug press – the blank mug can be placed into the heat press for 30-40 seconds. The mug should warm / slightly hot to the touch but not too hot to handle.
  • Fill the mug with boiling water and leave for 1-2 minutes. Again the mug should be warm / slightly hot when handling.
  • Soak mugs in a bowl of hot water for 5-10 minutes – this method is ideal for large print runs or bulk orders. Mugs should be removed and dried before pressing.