4. Creating artwork

How to create a UV DTF artwork sheet

We require print ready artwork, so it can be printed quickly and efficiently. The supplied artwork file should be sized accordingly along with the logos / design elements laid out within it.

UV DTF artwork needs to be created within a design area that matches the sheet size order.

For example; 55cm wide by 100cm high for our 55x100cm gang sheet

We advise the following requirements when creating UV DTF artwork sheets:

  1. Title the document.
  2. Set the sizing. eg. 55cm x 100cm.
  3. Set the resolution. 300dpi (Pixels/Inch).
  4. Set the Colour Mode. RGB Colour.
  5. Set background contents. Transparent.
  6. Set Colour Profile. Don’t Colour Manage.
  7. Create the document.

Laying out logos / design elements

The sized artwork sheet can then be filled with the logos or design elements you require printing.

Logos / design elements can be the same – multiplied to cover the full sheet.
Or you can fill the sheet with different logos / design elements in various sizes and quantities.

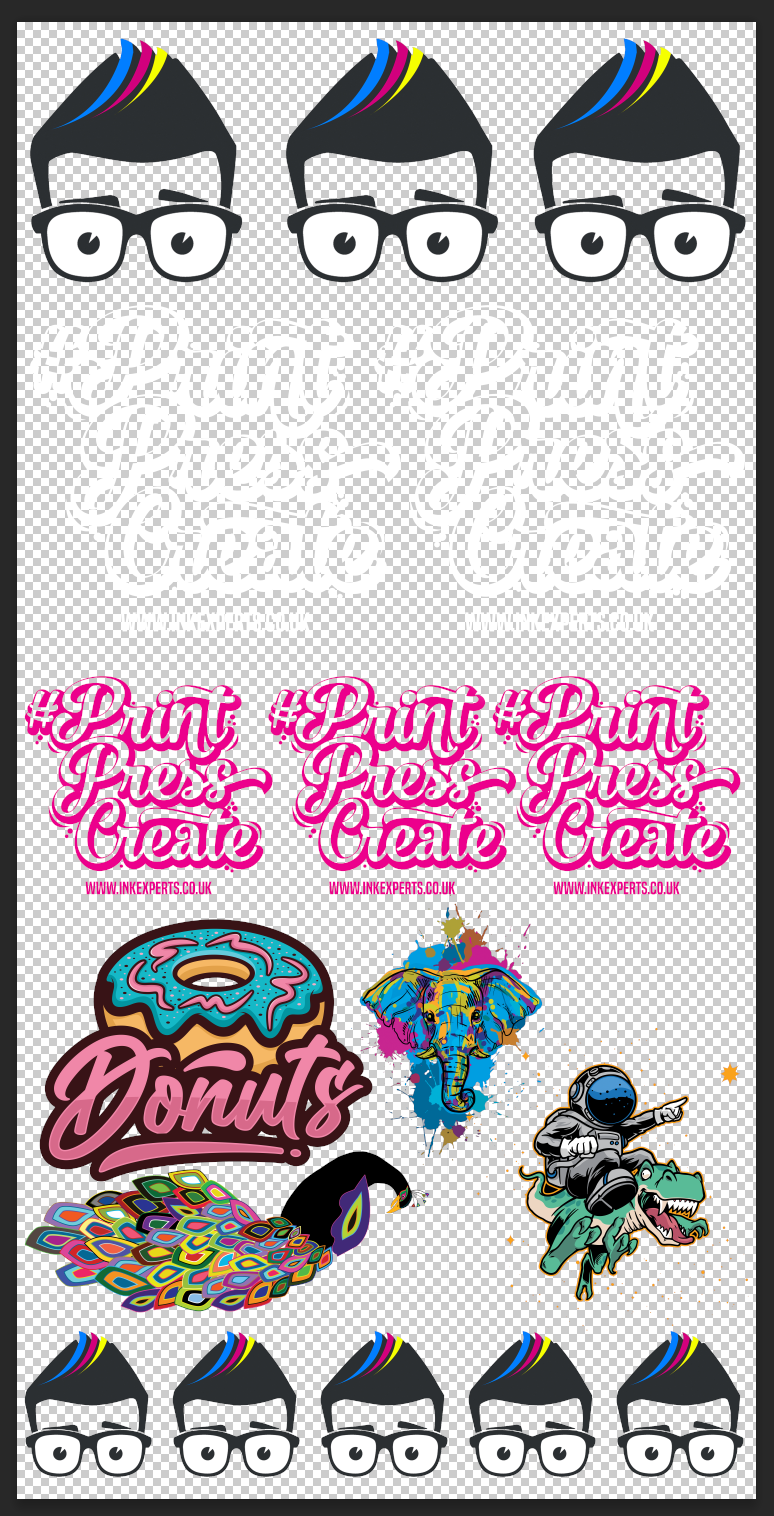
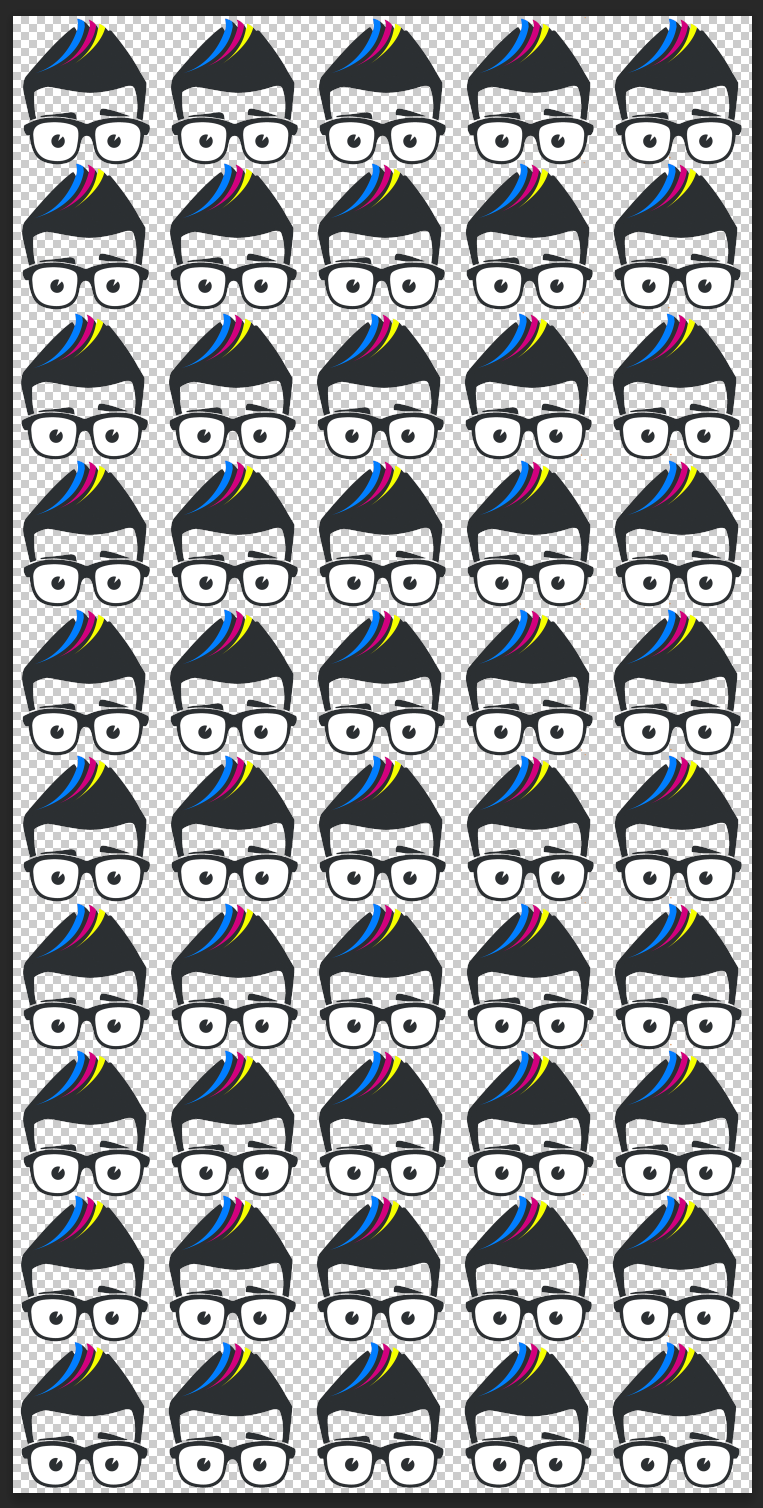
Below are examples of UV DTF artwork sheet layouts (sized at 55cm x 100cm) with various designs / logos / sizes / quantities and the same design repetitively laid out on the sheet.

Multiple logo UV DTF artwork sheet

Repetitive logo UV DTF artwork sheet

Artwork requirements:

  • PNG file format
  • RGB Colour Mode
  • High Resolution (300DPI preferred)
  • Transparent background
  • Any white areas left white (HEX FFFFFF)
  • No mirror image (our software will automatically mirror image)
  • Copy owned or approved*
  • No embedded colour profiles**

* All artwork uploaded for printing must be copyright owned by the user. Any infringement of copyright material will be reported and removed from prints with no refund offered.

**To try to ensure artwork is as closely matched as possible please provide artwork without any embedded colour profiles. Colours on the printed transfer sheet may vary slightly to those shown on screen due to differences in display screens.

Tips and advice:

  • Try to get the best value from your UV DTF printed sheet; wherever possible try to fill the sheet with as many logos / design elements as possible and avoid wasted space.
  • Consider your sizing options to allow fitment of logos / design elements as efficiently as possible. For example 9.5  x 9.5cm circular logos will fit nicely on a 50 x 100cm sheet; 5 wide by 11 deep – 55 total whilst still allowing a small space between each logo. 10 x 10cm circular logos will only fit 4 wide by  9 deep – 36 total whilst allowing a space between each.
  • Allow a small space between each logo / design element. The space can be very small – enough to allow you to trim your logos /design elements using a pair of scissors or a craft blade.
  • Consider the size of text and its font weight (how bold or thick it is) Each font is different so use the below as a guide only:
    • Light / thin typeface in black / colour – 10pt / 3mm tall
    • Light / thin typeface in white – 20pt / 5mm tall
    • Bold / thick typeface in black / colour – 8pt / 2mm tall
    • Bold / thick typeface in white – 10pt / 3mm tall
  • Avoid thin line work such as line drawings. We recommend any thin  lines making up or within design elements to be no thinner than:
    • White lines – 3.0mm
    • Black / coloured lines – 3.0mm
  • Avoid using glow effects, gradients or drop shadows around text or objects –  UVDTF applies a solid white ink behind any coloured pixel regardless of its opacity. So glow effects, gradients or drop shadows can appear solid after printing.

Please contact us to raise your order